
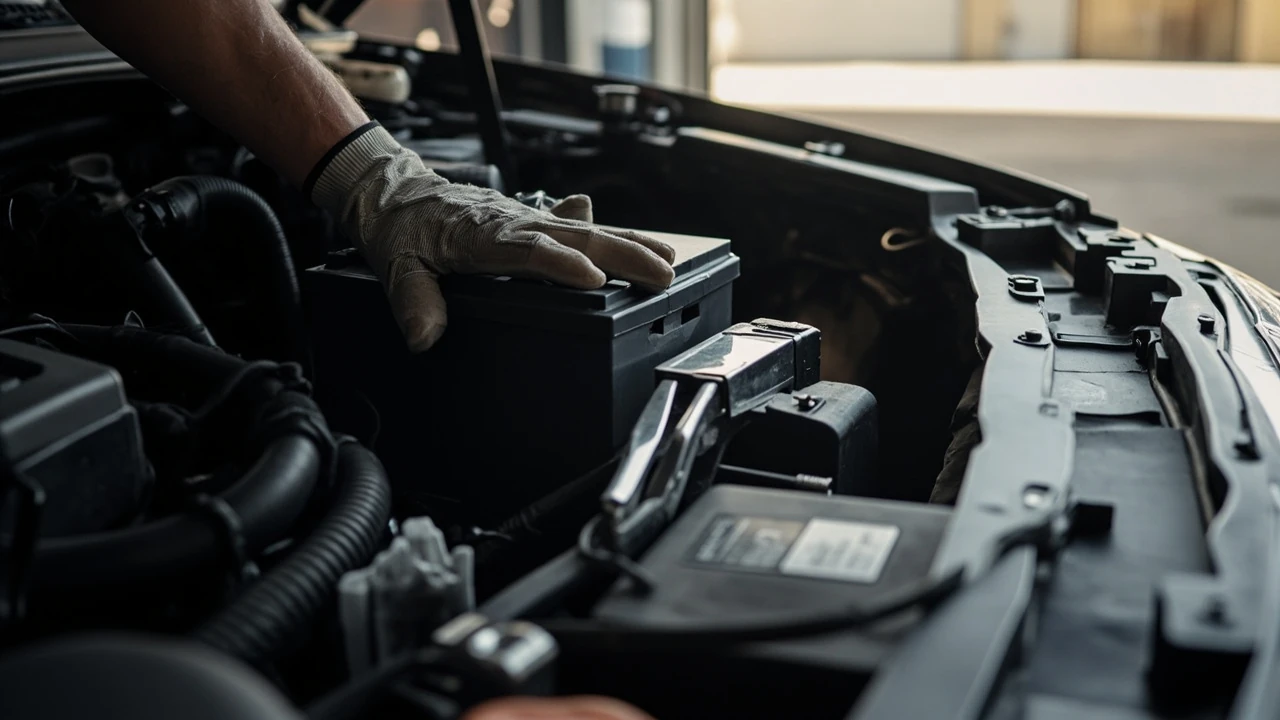
Car battery installation: a complete step-by-step guide
A dead battery on a Monday morning is one of the most common reasons a car refuses to start, and the fix is usually a straightforward car battery installation that takes less than an hour with basic hand tools. The work is not technically difficult, but the order in which the cables are disconnected and reconnected, the way the battery is secured, and a handful of small post-installation steps all determine whether the new battery lives a full service life or fails prematurely.
This guide walks through the full process, from confirming that a new battery is really what you need, to selecting the right replacement, to the physical swap, and to the reset steps that protect your car’s electronics afterward. It is written for the careful first-timer who wants to understand the job before picking up a wrench, and for the experienced owner who wants a clean, repeatable procedure.
Confirm the battery is actually the problem
Before scheduling a car battery installation, it is worth verifying that the battery is the failed component. A weak battery often mimics other electrical faults, and replacing a healthy battery will not solve a charging-system problem.
Common symptoms that point to the battery include a slow or silent crank on a cold morning, headlights that dim noticeably when the engine is idling, dashboard warning lights that appear only briefly after a jump start, and a vehicle that starts reliably with a jump but loses charge again within a day or two. The last symptom is the most telling: a healthy alternator should keep a functional battery topped up indefinitely.
If the engine turns over briskly but the car still does not start, the issue is more likely fuel or ignition related. If jump-starting does nothing at all, the fault may be a corroded cable, a bad ground strap, or a starter motor, not the battery itself.
How long a car battery actually lasts
Most modern lead-acid automotive batteries last between three and five years, with some premium AGM (absorbent glass mat) designs reaching six or seven years in mild climates. Several factors shorten that window:
- Frequent short trips that never let the alternator fully recharge the battery
- Extended parking in extreme heat, which accelerates internal plate corrosion
- Vibration from a loose hold-down clamp, which damages internal plates
- Parasitic drain from an aftermarket accessory wired directly to the battery
- A weak alternator that undercharges or overcharges the battery
Once a battery passes the four-year mark, a yearly load test is a useful habit. Many auto parts stores will perform this test free of charge, and it gives an early warning before a roadside failure.
Choosing the right replacement battery
A new battery is not a one-size-fits-all part. Picking the wrong one can lead to poor cranking performance, premature failure, or even damage to the electrical system. There are four key specifications to match.
| Specification | What it means | How to find yours |
|---|---|---|
| Group size | The physical dimensions and terminal layout defined by the Battery Council International | Owner’s manual, current battery label, or a fitment guide at an auto parts store |
| CCA (cold cranking amps) | The current the battery can deliver at 0 degrees Fahrenheit for 30 seconds while maintaining voltage | Match or exceed the original specification; never go lower |
| Terminal polarity and position | Whether the positive terminal sits on the left or right when the terminals face you | Visual inspection of the old battery; reversed polarity can damage electronics |
| Chemistry (flooded, AGM, EFB) | The internal construction, which affects charging profile and lifespan | Match what the manufacturer specified, especially on start-stop vehicles |
For most non-luxury vehicles, a flooded lead-acid battery in the correct group size and CCA is perfectly adequate. Vehicles equipped with start-stop systems, however, often require an EFB (enhanced flooded battery) or AGM battery because the original charging profile is tuned to that chemistry. Installing a cheaper flooded battery in a start-stop car will usually result in a much shorter service life.
Tools and supplies you will need
Most car battery installation jobs require a small, specific set of tools. Gathering them before you start prevents the awkward situation of having a half-removed battery and no way to loosen the next fastener.
- 10 mm and 12 mm wrenches or a small socket set, since most battery terminals and hold-down hardware use these sizes
- A memory saver or a 9-volt battery with a plug-in OBD-II adapter, which preserves radio presets, seat memory, and learned ECU settings
- Safety glasses and nitrile or mechanic’s gloves
- A wire brush or dedicated battery post and terminal cleaner
- Baking soda, water, and an old toothbrush for neutralizing any corrosion
- A clean shop rag or paper towels
- Optional: anti-corrosion washers or terminal protectant spray
If the battery is mounted in a tight spot, a battery lifting strap is a worthwhile add-on. Lead-acid batteries are heavy, and a clean lift is much easier than gripping the case directly.
Preparing the vehicle safely
Safety is the most important part of a car battery installation. Modern vehicles carry a surprising amount of stored electrical energy, and a careless move can damage sensitive control modules or cause a short circuit.
Park the car on a level surface, turn off the ignition, and remove the key. If the vehicle has push-button start, make sure the fob is out of range. Turn off the headlights, climate control, and any accessories, then open the hood and wait a few minutes for any residual electrical energy in the system to dissipate before touching the terminals.
Connect a memory saver now, before you disconnect anything. The plug fits into the OBD-II port, which on most cars is located under the dashboard near the steering column. Once the memory saver is in place and its indicator light confirms power, you can proceed without losing your radio presets, clock, and adaptive transmission memory.
Locating and inspecting the battery
Most vehicles place the battery in the engine bay, usually on one side of the engine near the fender. Some foreign cars, however, mount the battery in the trunk, under the rear seat, or behind a panel in the wheel well. If the engine bay is empty, the owner’s manual will identify the exact location.
Once you find the battery, take a minute to inspect the surrounding area. Look for:
- Heavy white or bluish powder on the terminals, which indicates corrosion
- Cracks or bulging in the case, which can leak acid and signal a failing battery
- A loose or missing hold-down clamp, which allows vibration to damage the new battery
- Routing of the positive cable, which is usually covered with a red boot
Photographing the setup with a phone is a small but useful step. You will have a clean reference for how the hold-down, vent tube, and any heat shields were arranged before you removed anything.
Removing the old battery
The order of operations during removal matters. The negative cable is always disconnected first, and reconnected last, to minimize the risk of a short circuit if a tool accidentally contacts the body of the car while you are working on the positive terminal.
- Loosen the negative terminal clamp with a 10 mm wrench. A gentle twist side to side can free a stubborn clamp.
- Tuck the negative cable to the side so it cannot spring back onto the terminal.
- Repeat the process on the positive terminal, loosening and moving the cable clear.
- Remove the hold-down clamp or bracket, which is usually a single bolt at the base of the battery.
- Lift the battery straight up using both hands or a lifting strap, keeping it level to avoid sloshing any residual acid.
- Set the old battery on a cardboard sheet or a plastic tray, never directly on concrete, and never on a painted surface where spilled acid could cause damage.
Old automotive batteries are recyclable and should never go in household trash. Most auto parts stores accept them for recycling, often offering a small credit toward the new purchase.
Cleaning the tray and terminals
With the battery out, take a few minutes to clean the area. Corrosion on the tray can be neutralized with a paste of baking soda and water, applied with an old toothbrush. Wipe the residue away with a damp cloth and let the area dry fully.
If the cable terminals are corroded, the same baking soda paste works well. For heavy buildup, a dedicated terminal cleaner with an internal wire brush is faster and gives a better electrical contact. The goal is shiny metal on both the inside of the clamp and the outside of the battery post. A clean connection prevents voltage drop and the mysterious electrical gremlins that often trace back to a poor ground.
Installing the new battery
The actual car battery installation is the reverse of removal, with attention to a few details that determine long-term reliability.
- Set the new battery into the tray, oriented so the positive and negative posts match the original positions.
- Reinstall the hold-down clamp or bracket and tighten the bolt snugly. The battery should not rock or shift when you push on it, but the clamp should not deform the case.
- If the original battery had a vent tube, attach it to the same port on the new battery. This vents any small amount of hydrogen gas outside the cabin and trunk.
- Connect the positive cable first this time, tightening the clamp until it does not move when you try to twist it by hand.
- Connect the negative cable last, using the same snug tightening.
- Apply a thin layer of anti-corrosion protectant to both terminals if desired.
Many owners find the moment of greatest uncertainty is figuring out which cable goes on first. The simple rule to remember: positive cable off first, positive cable on first; negative cable off first, negative cable on last. Reversing this order on a modern vehicle can create a voltage spike that confuses sensitive control modules.
Post-installation steps
Once the new battery is in place, the job is not quite finished. A few quick checks protect both the new battery and the rest of the vehicle.
Start the engine and let it idle for a minute or two. The dashboard should look normal, with no charging system or battery warning light. If a warning light remains, the alternator output or a sensor may need attention, not the battery.
Test the accessories: headlights, climate control blower, infotainment screen, power windows, and any memory positions. If you used a memory saver, all of these should already be intact. If you did not, you may need to reprogram radio presets, the clock, and any power seat or mirror memory positions according to the owner’s manual.
Some vehicles require an idle relearn or throttle body relearn after a battery disconnect. The car will usually handle this on its own during normal driving, but a short drive that includes gentle acceleration and deceleration will help the ECU relearn the fuel trim more quickly.
Common mistakes to avoid
Even a careful owner can make small errors that shorten the life of a new battery. The most common pitfalls are easy to avoid with a little attention.
| Mistake | Why it matters | What to do instead |
|---|---|---|
| Reversing the cable order | Can create a voltage spike that damages sensitive modules | Negative off first, negative on last; positive off last, positive on first |
| Loose hold-down clamp | Vibration damages internal plates and shortens battery life | Snug the clamp so the battery cannot shift in the tray |
| Skipping the vent tube | Trapped hydrogen gas can corrode metal and pose an ignition risk | Reconnect the vent tube to the same port as the original |
| Over-tightening terminal clamps | Can crack the lead posts and cause a slow leak | Tighten until the clamp no longer twists by hand; do not use excessive force |
| Installing a battery with the wrong group size | Cables may not reach, hold-down may not fit, and the case can contact metal | Verify group size, CCA, and terminal polarity before purchase |
Most of these mistakes are easier to prevent than to fix, which is why a slow, methodical approach pays off on what is otherwise a quick job.
When to call a professional
Most car battery installation jobs are well within the reach of a careful home mechanic, but there are situations where a professional is the better choice.
If the battery is located in the trunk or under a seat and the interior panels need to come off to reach it, the time and risk of breaking a trim clip is often not worth the savings. Likewise, on a start-stop vehicle with a battery management sensor, the sensor usually needs to be re-registered with a scan tool after a battery swap, which a professional service will include as part of the job.
Hybrid vehicles add a second, much higher-voltage battery that should never be touched without specific training and protective equipment. The 12-volt auxiliary battery in a hybrid is still a normal car battery, but the orange high-voltage cables running through the engine bay and under the car are an entirely different safety category. If you are not certain which system you are looking at, stop and call a qualified technician.
Disposing of the old battery
Lead-acid batteries are one of the most recycled consumer products, with a recycling rate above 95 percent in many regions. The lead, plastic case, and sulfuric acid can all be recovered and reused, and most jurisdictions require that automotive batteries be taken to a certified recycler rather than placed in household waste.
Auto parts stores and service stations will accept old batteries at no charge, and many apply a core charge refund at the time of purchase that is returned when the old battery is brought back. Keeping the receipt and the old battery together until the swap is complete makes the return straightforward.
How to extend the life of the new battery
A new battery is a small investment that pays off most fully when it lasts as long as possible. A few habits make a measurable difference over the life of the battery.
- Drive the car for at least 20 minutes at a time when possible, to let the alternator fully recharge after starting
- Clean the terminals once a year as part of routine maintenance
- Turn off headlights, climate control, and accessories before shutting the engine off
- Park in the shade or a garage in hot climates, since heat is the single biggest factor in shortened battery life
- Disconnect the negative terminal if the car will sit unused for more than a month, or attach a maintenance charger
A maintenance charger, sometimes called a battery tender, is a small device that keeps the battery at a full charge without overcharging it. For owners of a second car, a motorcycle, or any vehicle that sits for long stretches, a tender pays for itself in extended battery life.
Working with corroded or stuck terminals
Old batteries sometimes leave behind terminals that refuse to budge, especially when corrosion has welded the clamp to the post. The wrong response is to pry the clamp off with a screwdriver, which bends the clamp and can crack the post. The right approach is a dedicated battery terminal puller, which uses even pressure to lift the clamp straight up.
For mild corrosion, a five-minute soak with a baking soda and water paste followed by gentle brushing will usually free the clamp. For severe corrosion where the post looks like a white mushroom, the clamp is often damaged beyond reuse. Replacement terminals are inexpensive, and a clean new clamp makes a far better electrical connection than a salvaged one.
Understanding battery registration on modern cars
Many European and luxury vehicles use a battery management system that tracks the age and condition of the battery. When a new battery is installed, the system needs to be told about the change so it can adjust the charging profile and stop assuming the old battery is still in place.
This process is called battery registration, and it usually requires a scan tool with the correct software for the specific manufacturer. Without registration, the car may overcharge or undercharge the new battery, which shortens its life and can void the warranty. Owners who do not have access to a scan tool should have the registration done by a dealer or a well-equipped independent shop as part of the car battery installation.
Even on vehicles that do not require formal registration, a short drive cycle after the swap allows the ECU to relearn idle and fuel trim values that may have been lost.
Frequently asked questions
How long does a car battery installation take?
For a first-timer working in an accessible engine bay, the full job including setup and post-installation checks usually takes 30 to 60 minutes. A practiced owner can complete the same job in 15 to 20 minutes. Batteries in the trunk or under seats, or cars that require battery registration, add time.
Do I need to replace the battery every four years?
Not necessarily, but a battery past four years of age is statistically more likely to fail without warning. A yearly load test during routine service gives an early indication of remaining capacity and helps avoid an unexpected roadside failure.
Can I install a higher CCA battery than the original?
Yes, in most cases. A higher cold cranking amp rating simply means the battery can deliver more current in cold conditions, which is always an advantage. The group size, terminal layout, and chemistry must still match the original specification.
Is it safe to install a car battery in the rain?
Light moisture on the body of the car is fine, but a wet engine bay creates a risk of current tracking across the surface of the battery. A dry, sheltered workspace is strongly recommended, and the job should be postponed if heavy rain is unavoidable.
What happens if I connect the cables in the wrong order?
Reversing the cable order on a modern vehicle can create a momentary voltage spike that may damage sensitive modules, blow a fuse, or trigger warning lights. The car will usually still run, but any resulting electrical fault should be diagnosed before the vehicle is returned to service.
Do I need a memory saver for a car battery installation?
It depends on the vehicle. A memory saver preserves radio presets, clock, and learned ECU values that would otherwise need to be reprogrammed manually. On older cars with few electronic features, a memory saver is unnecessary. On newer vehicles, it saves real time and prevents small annoyances.
Can a new battery damage my car’s alternator?
A properly specified new battery will not damage a healthy alternator. A mismatched battery, especially one with a much higher capacity than the original, can in some cases cause the alternator to run slightly hotter as it works to maintain the higher voltage, but the effect is small and well within the design margin of modern alternators.
Should I drive the car immediately after a car battery installation?
Yes, a short drive of 10 to 15 minutes is a good idea. The alternator will top up the new battery, and the ECU will begin to relearn idle and fuel trim values. Avoid heavy electrical loads like the rear window defroster during this first drive to keep the charging system focused on the battery.
Why does my new battery lose charge overnight?
A small surface discharge in the first 24 hours is normal, especially with a flooded lead-acid battery. If the car still cannot start after a full day of normal driving, the issue is more likely a parasitic drain from an accessory that is not shutting off, or a charging system fault. A multimeter test of the parasitic draw can confirm the diagnosis.
What should I do with the old battery?
Take it to an auto parts store, service station, or municipal recycling center. Most retailers accept lead-acid batteries at no charge, and many refund the core charge that was added to the new battery’s price. Old batteries should never go in household trash, since the lead and acid are hazardous materials.
Leave a Reply